The Lifeline of Communication in Emergencies
When storms knock out power grids, wildfires force evacuations, or natural disasters disrupt infrastructure, staying informed isn’t just convenient—it’s a matter of survival. During emergencies, traditional communication channels like smartphones and Wi-Fi often fail. Batteries die, cellular towers overload, and charging stations become inaccessible. Yet, access to critical updates—weather alerts, evacuation routes, or emergency broadcasts—can mean the difference between safety and danger.
Why a DIY Emergency Radio is a Game-Changer
Store-bought emergency radios can cost upwards of $50, and many households don’t prioritize them until disaster strikes. Building your own DIY emergency radio solves this problem by:
- Avoiding Battery Dependency: Use renewable power sources like hand-cranks or solar panels.
- Repurposing Accessible Parts: Salvage components from old electronics (e.g., car radios, broken speakers).
- Ensuring Preparedness: Customize your radio to fit your family’s needs (e.g., adding USB charging for phones).
Why Build a DIY Emergency Radio?
Cost-Effective
Commercial emergency radios range from 30 to 150$, but a DIY version costs under $15 if you repurpose parts. For example:
- Salvage an AM/FM circuit from an old car radio ($0).
- Use a $5 hand-crank generator from a broken flashlight.
- Skip soldering with alligator clips and scrap wire.
Eco-Friendly
Over 50 million tons of e-waste are generated yearly. By repurposing old electronics, you:
- Keep functional parts (radios, solar panels) out of landfills.
- Reduce demand for new plastic-heavy devices.
Educational
This project teaches foundational skills:
- Basic Circuitry: Learn how power sources (solar, hand-crank) connect to radios.
- Troubleshooting: Diagnose signal issues or wiring faults.
- Survival Principles: Understand why AM/FM bands remain operational during disasters.
Reliability
Unlike phones or Wi-Fi, AM/FM radio towers are federally mandated to stay operational during emergencies. A DIY radio with a solar panel or hand-crank ensures:
- No Grid Dependency: Operates independently of household power.
- Long-Term Use: Rechargeable battery packs (e.g., 18650 cells) provide backup storage.
- Versatility: Add a USB port to charge phones or power LED lights.
Materials Needed
Core Components
(Available at hardware stores or salvaged from old devices)
- AM/FM Radio Kit or Salvaged Circuit:
- Look for crystal radio kits or extract circuits from old car radios.
- Power Source:
- Hand-crank generator (from discarded flashlights or buy new ).
-
- Small solar panel (5V, 1W minimum; repurpose from garden lights [$4]).
- Rechargeable Battery Pack:
- Use 3.7V lithium-ion batteries (18650 cells from old laptops).
- Basic Electronics Tools:
- Copper wire (18–22 gauge), alligator clips, soldering iron (or electrical tape for no-solder builds).
Optional Upgrades
- USB Charging Port:
- Add a USB module to charge phones during outages.
- LED Flashlight:
- Attach a 3V LED strip to the radio housing.
- Signal Booster:
- Extend range with a DIY copper coil antenna.
Step-by-Step DIY Guide
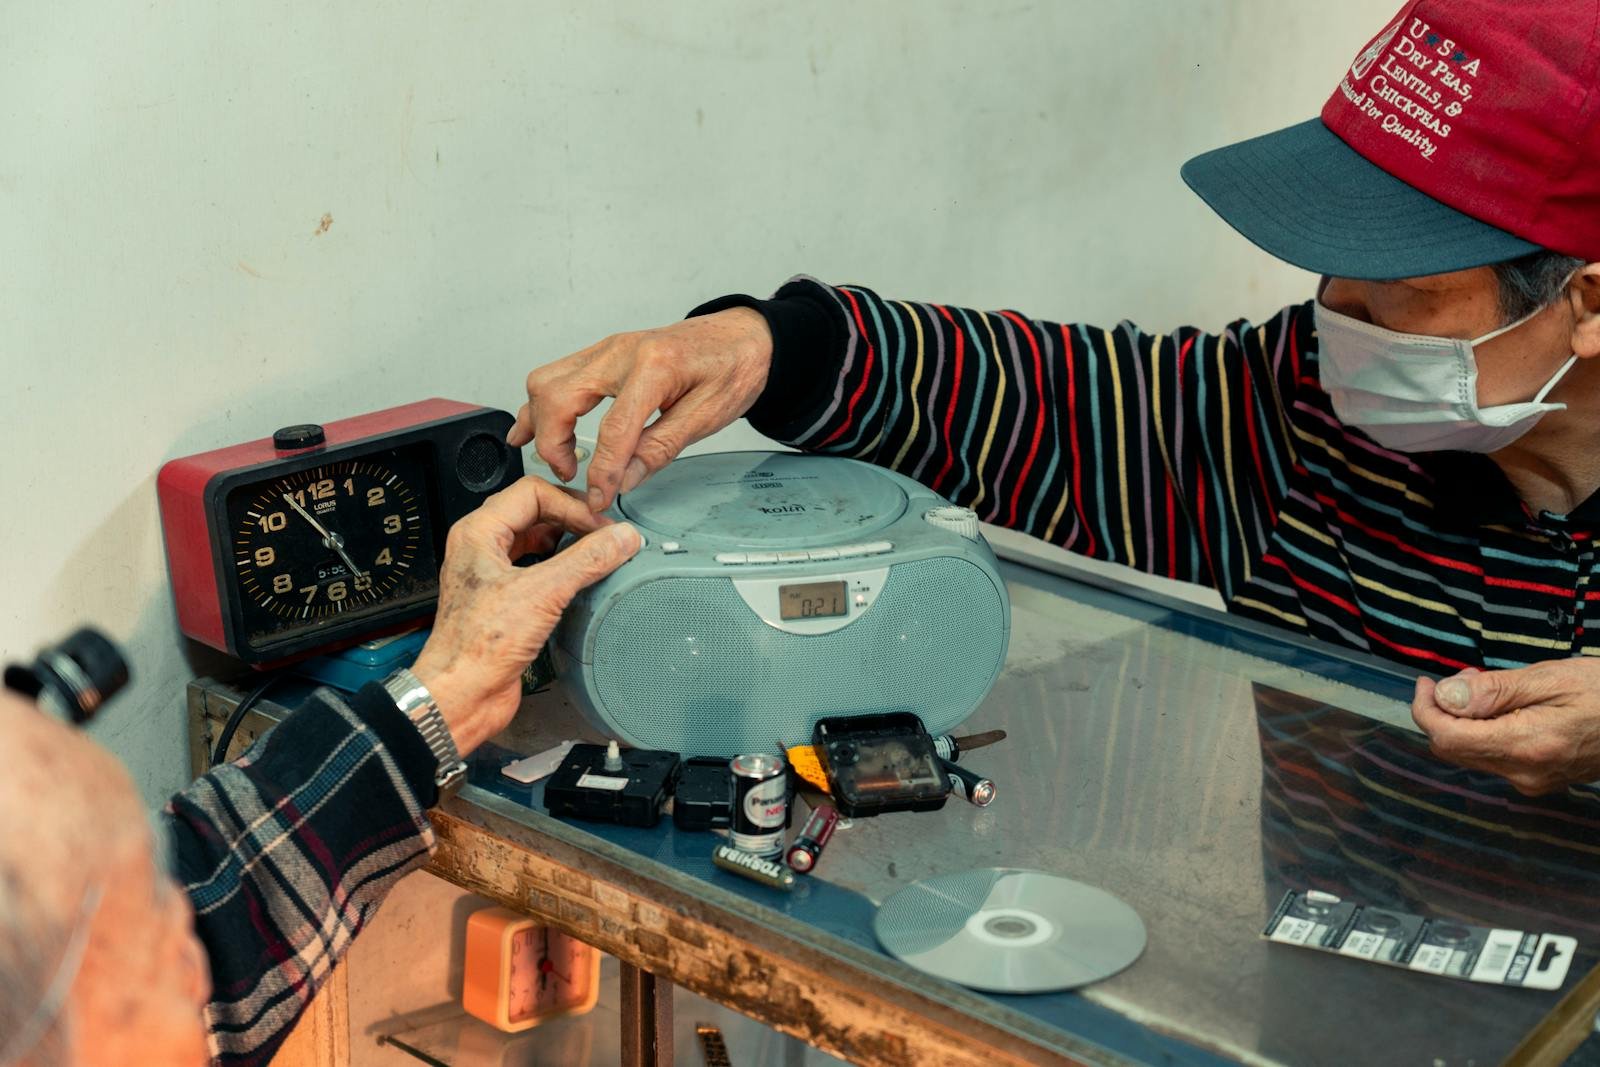
Step 1: Salvage Radio Parts
How to Extract a Working Circuit from Old Electronics
- Identify Donor Devices:
- Best options: Car radios, portable AM/FM speakers, or handheld radios.
- Avoid: Damaged devices with burnt components or water exposure.
- Disassemble the Device:
- Use a screwdriver to remove the outer casing.
- Locate the circuit board (a green/black board with metal components).
- Extract the Radio Circuit:
- Clip wires connecting the circuit to speakers, displays, or power inputs.
- Preserve the tuner knob, volume control, and antenna connection.
Pro Tip:
- Wear safety gloves to avoid sharp edges inside old electronics.
- Label wires (e.g., “Power +” or “Antenna”) during disassembly.
Step 2: Integrate Power Source
Wiring a Hand-Crank or Solar Panel
- Hand-Crank Generator:
- Connect the hand-crank’s output wires (usually red/black) to the radio’s power input.
- Use alligator clips or solder: Red (+) to circuit’s positive terminal, black (-) to negative.
- Test by cranking slowly—radio should power on briefly.
- Solar Panel Setup:
- Wire the solar panel’s positive/negative leads to the radio circuit.
- Add a diode (e.g., 1N4007) between the panel and circuit to prevent reverse current.
- Optional: Connect a rechargeable battery pack as a buffer for cloudy days.
Pro Tip:
- Use a multimeter to confirm voltage (3–5V for most circuits).
- For solar, angle the panel south-facing (if mounted outdoors).
Step 3: Assemble the Circuit
Soldering for Beginners
- Secure Components:
- Mount the radio circuit, power source, and battery pack on a non-conductive base (wood, plastic).
- Soldering Steps:
- Heat the soldering iron (300–350°C).
- Touch the iron to the wire and circuit pad simultaneously, then apply solder until it flows smoothly.
- Avoid cold joints (lumpy solder)—reheat if needed.
- Insulate Connections:
- Cover exposed wires with electrical tape or heat-shrink tubing.
Pro Tip:
- Practice soldering on scrap wire first.
- Use a “third hand” tool to hold components steady.
Step 4: Test and Troubleshoot
Ensuring Clear Reception
- Initial Test:
- Power the radio via hand-crank/solar. Turn the tuner knob to find a station.
- Fix Static/Weak Signal:
- Extend the antenna: Attach a copper wire (12–18 inches / 30-45 cm) to the circuit’s antenna terminal.
- Relocate the radio near a window or elevate it.
- Troubleshoot Power Issues:
- Check solder joints for cracks.
- Test the battery pack with a multimeter (should read 3.7–5V).
Pro Tips:
- Faraday Cage Protection: Store the radio in a metal tin lined with cloth to shield against EMPs.
- Label Wires: Use colored tape to mark “Power In,” “Antenna,” and “Ground” for quick fixes.
Safety Considerations
- Avoid High Voltage:
- Never salvage parts from CRT TVs, microwaves, or AC power supplies—they can store lethal charges.
- Waterproofing:
- Coat the circuit with conformal spray or encase it in a plastic food container with silica gel packets.
- Safe Storage:
- Keep the radio in a dry, cool place.
- Remove batteries if unused for months to prevent corrosion.
Maintenance & Preparedness Tips
- Monthly Testing:
- Crank or expose the solar panel for 1–2 minutes. Ensure stations are audible.
- Clean dust from components with a soft brush.
- Spare Parts Kit:
- Store extra fuses, 18-gauge wire, and alligator clips in a labeled pouch.
- Boost Signal Strength:
- Build a DIY antenna:
- Wrap 20 feet of copper wire around a PVC pipe.
- Connect one end to the radio’s antenna terminal and hoist the pipe outdoors.
- Build a DIY antenna:
Pro Tip: Pair your radio with a DIY Faraday pouch (aluminum foil + cloth) to protect spare batteries.
Pro Tips for Enhanced Functionality
Tip 1: Power Your Radio Without a Hand-Crank
- Use a small solar panel (5V or higher) for sunny climates.
- Repurpose a bicycle dynamo—pedal to generate power during use.
- Attach a USB power bank for backup energy storage.
Tip 2: Improve Reception in Remote Areas
- Boost range with a DIY long-wire antenna (see Step 4 for instructions).
- Elevate the antenna outdoors (e.g., tree branch or rooftop).
- Tune to lower frequencies (AM 530–1700 kHz) for better long-distance signals.
Conclusion
Why Self-Reliance Matters
In emergencies, communication isn’t just about convenience—it’s about survival. By building a DIY emergency radio, you’re not only saving money and reducing waste but also empowering yourself to stay informed when traditional systems fail. This project proves that preparedness doesn’t require expensive gear—just creativity, basic tools, and a willingness to learn.